https://medium.com/@sethalexander/how-to-build-your-own-react-boilerplate-1a97d09337fd
Seth Alexander, May 12 2018
How to build your own React boilerplate
So you’ve learned some React and built a few things. You’ve probably used create-react-app or react-slingshot to get off the ground quickly with minimal configuration. However, now you’re ready to venture out on your own with your very own React boilerplate.

WHERE. TO. START?
I recently faced this same dilemma. It was a struggle, but at the end of it, I had a solid repo that I could use as a basis for future React projects.
I realized I wanted to use Webpack because it’s the new hotness (well not so new), but I wouldn’t have a lot of resources to pull from to figure it out.
I have zero working knowledge of Grunt or Gulp, although after looking at them briefly, I know they do some cools things in their own right.
Also, the people I know who know more than I do use Webpack. I also had a reference React boilerplate Webpack config I was going to use as a base (but I quickly realized I was going to have to rewrite most of this config).
Back to the beginning
Let’s take it back, though. What really is a boilerplate? Dictionary.com failed in getting me a definition that would work. Oxford Dictionaries, on the other hand, landed the W with:
_3.1_ Standardized pieces of text for use as clauses in contracts or as part of a computer program.
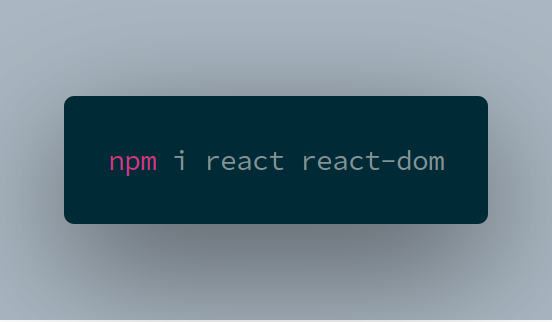
This works. So it’s something that’s standard across computer programs. As in some code that’s always the same at least in theory. So instead of having to run things like npm i react react-dom webpack and so on every time we start a project, we can copy our boilerplate and be off to the races knowing all the essential pieces we want are ready to go.
And since we’ll be building our own boilerplate, we’ll know that everything is being maintained the way we want it to, because it’s ours. We will also learn a lot during the process, and possibly even decide to make decisions that differ from what others have instructed us to do.
Get Git
First let’s create a local folder and make this a Git repository.

First things first
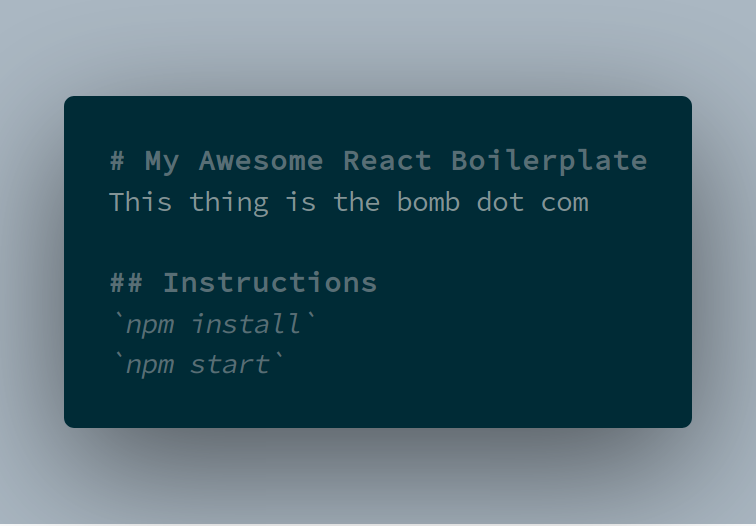
Now, what type of project would this be without a README.md? Every repository should have a readme file. Even if it’s just to remind you about how things work. Trust me, it may seem like you’ll remember exactly what each script does and why right now. However, a year from now, these readme’s come in handy! Trust me. So, create a README.md in the root of the project. Put something like this in there:
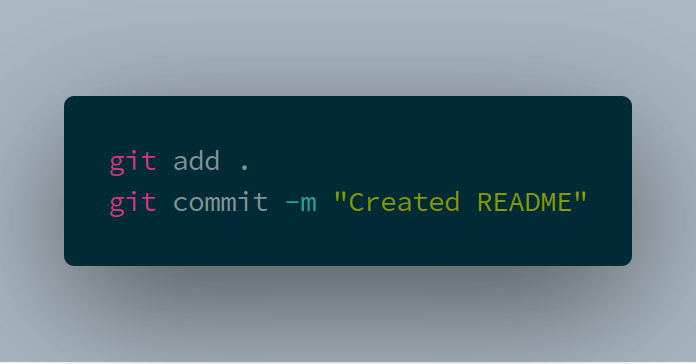
Make sure to commit your files to Git after any changes you make:
Folder structure
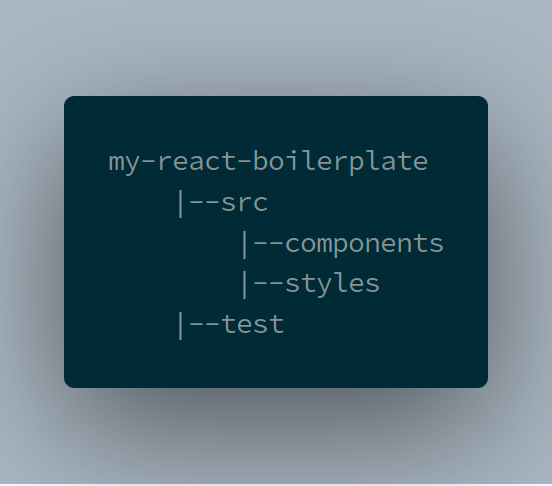
This one is pretty straightforward. Make the following folder structure to house everything:
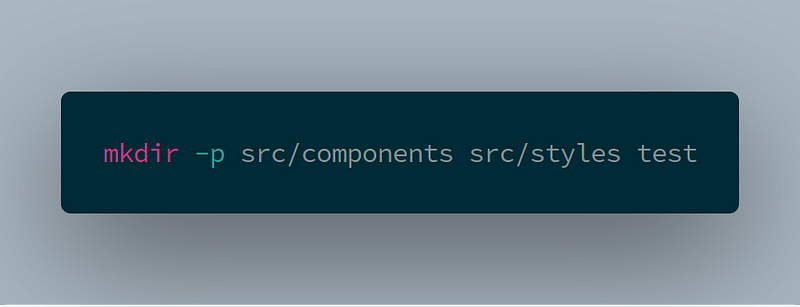
You can accomplish this easily with this command:
.gitignore
An essential part of any Git project is the .gitignore file. This tells Git to not put certain files under version control. This is important for things like packages and other things that we will retrieve from repositories. Not only do we not need these in version control, but it’s actually detrimental if we do include them in version control. At least I’m pretty sure it’s detrimental.
Create a .gitignore file in the root of your project and add the following to it:
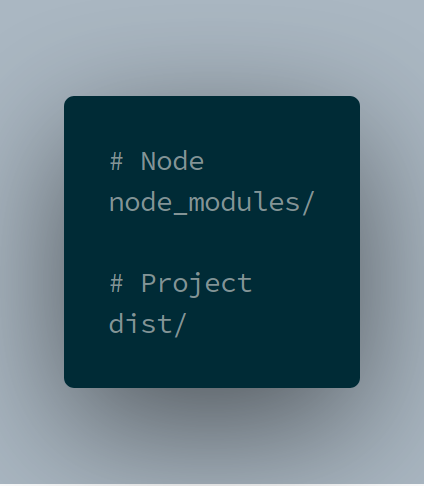
There are generators for this file, like this one, but this should be enough for what we’re doing today.
npm
All node projects must be initialized so we can use the package manager. This will create a package.json file for us, which must be in version control.
It contains many things, but the most important are:
- A list of all the installed packages and their semantic version allowed
- Scripts
To start this process, enter the following in your terminal in the root of your project:
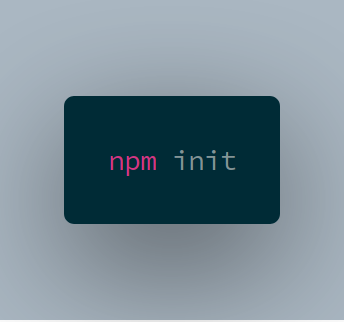
You’ll be asked more than a few questions, but feel free to just press Enter and leave it all blank. In the end you’ll have a shiny new package.json that looks something like this:

HTML
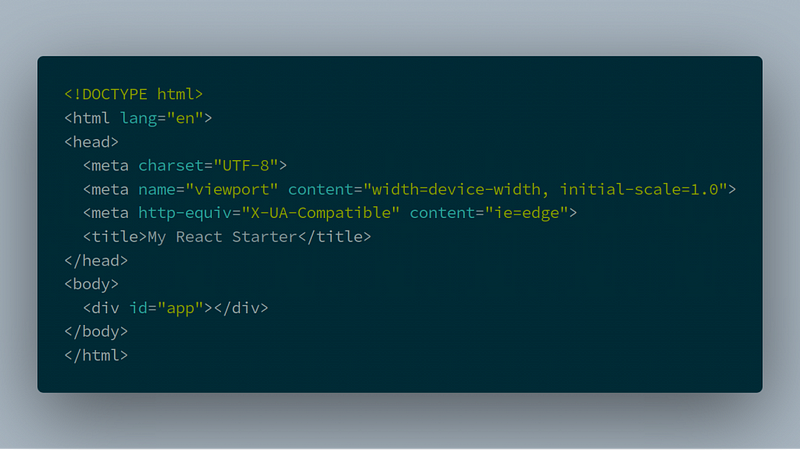
Yes! Time to write some code! Well, this is going to be the most boring HTML you’ll probably ever write. Create an index.html in the root of your project and set it up like so:
React
Now, let’s add React to our project.
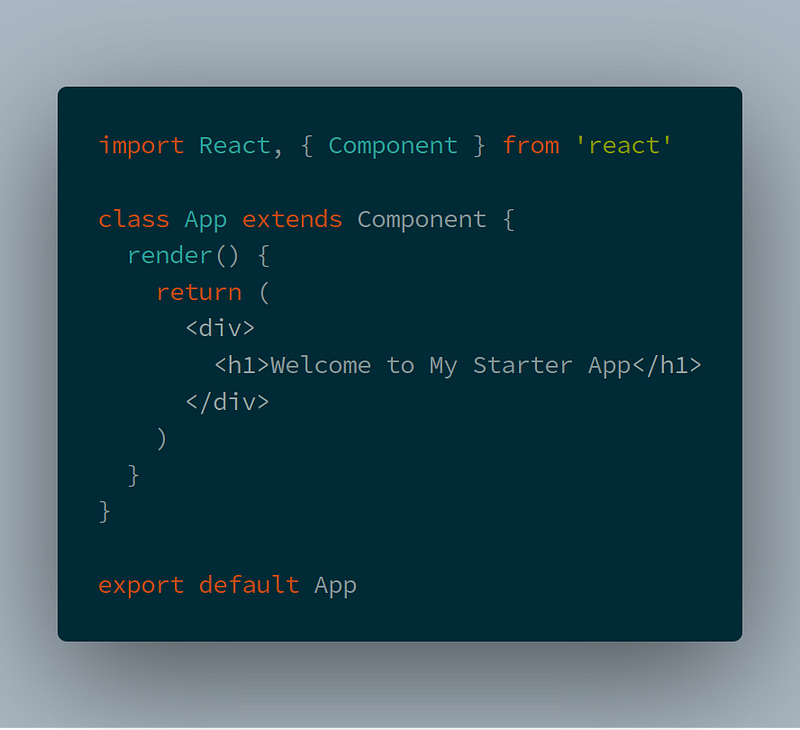
Create this file /src/components/App.js and in it put the following:
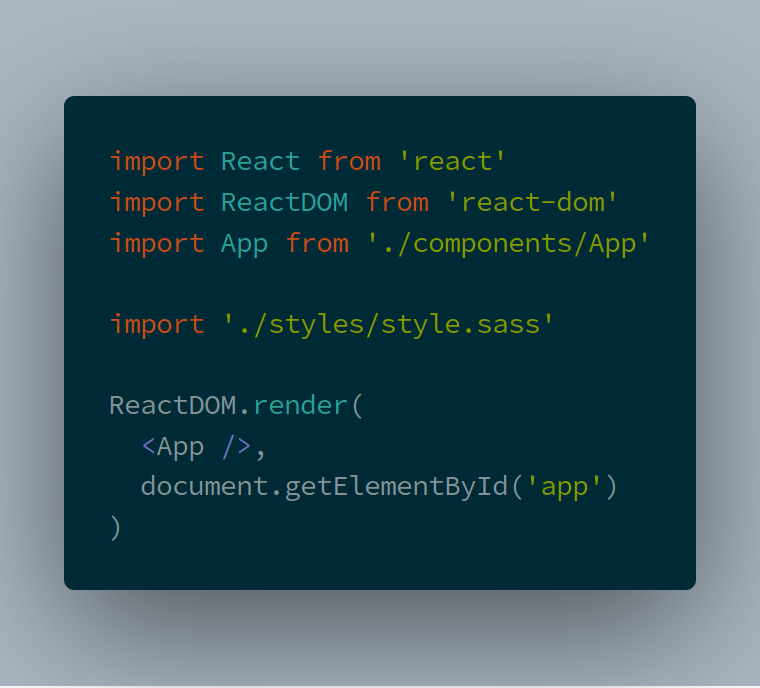
Then we will render the App via an index which we will create here at /src/index.js and put the following in:

Babel
Babel is awesome. It lets us write the latest and greatest JavaScript while ensuring we have maximum compatibility with the code we ship. First thing is we have to install Babel and a few additional Babel packages to make this all work together. Don’t worry, I’ll explain it soon.

Then we need to create a .babelrc in the root of our project and add the following to it:
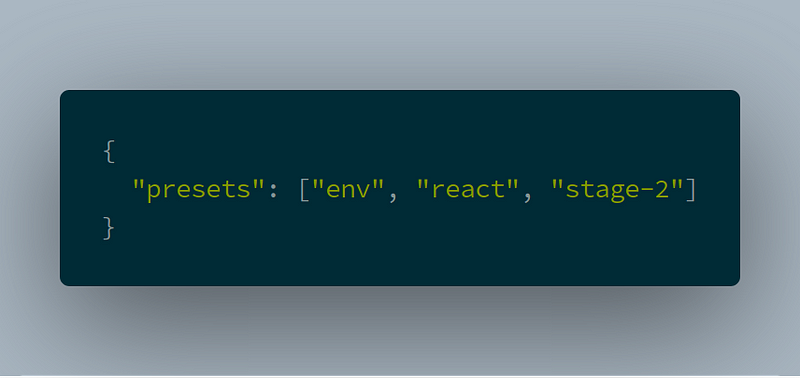
Now, what does this do exactly? The env preset implicitly includes babel-preset-es2015, babel-preset-es2016, and babel-preset-es2017 together, which means you can run ES6, ES7, and ES8 code.
The react preset I think is pretty self-explanatory, but, you might be wondering why we need it if React is JavaScript. That’s because Babel doesn’t know what to do with React & JSX.
Finally, stage-2 allows us to utilize the JavaScript features that are currently at Stage 2 or later in the process. To learn more than you probably want to know, check out The TC39 process for ECMAScript features for more info. The key being that at stage 2, an eventual inclusion of the feature in the standard is likely, so we might as well start using it, right?
Tests
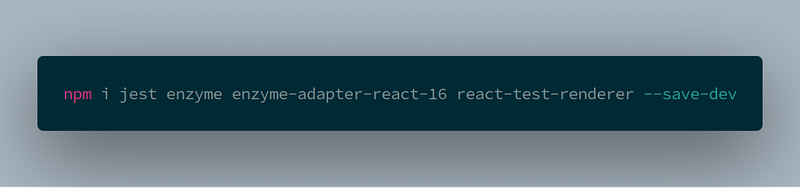
So we’re making progress. Now that we have a React component with our App.js let’s make sure to create a simple associated test for that component. This way we’re starting to implement some good practices, like having tests for the things we build. We will be using Jest with Enzyme for this project. First things first, let’s install it with:
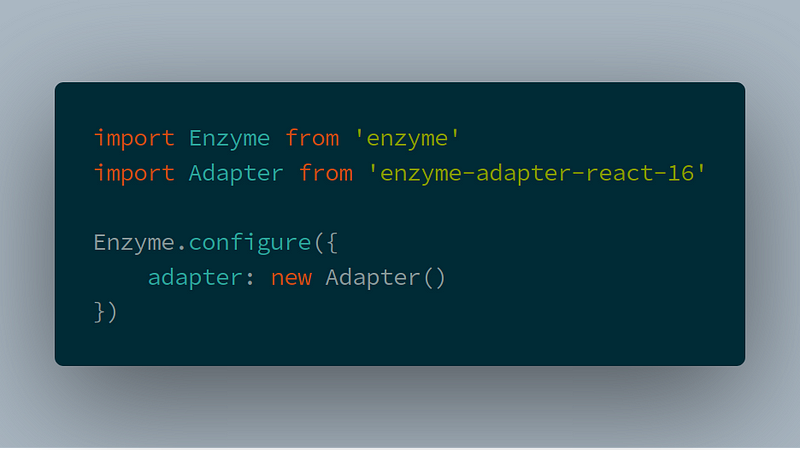
Now create /test/enzyme.setup.js and put in it:
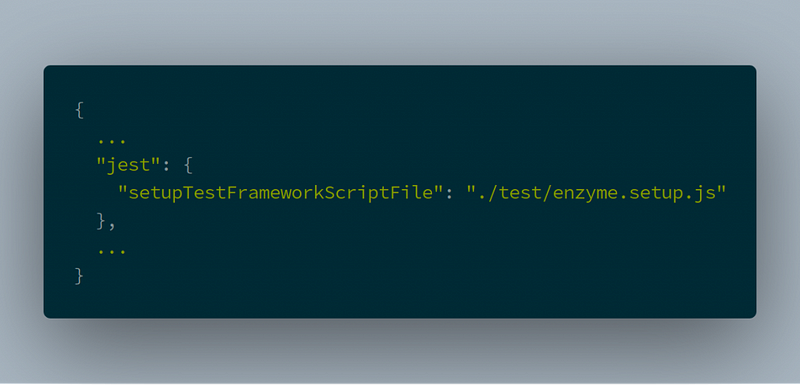
We’ll need to add Jest functionality into our package.json so add the following to it:
Next, we should add our first component test! So, create a file at /test/App.test.js to test that our App component renders as expected. We are also going to implement a snapshot test to ensure our component’s structure doesn’t change from test to test. To do that we’ll need the following:

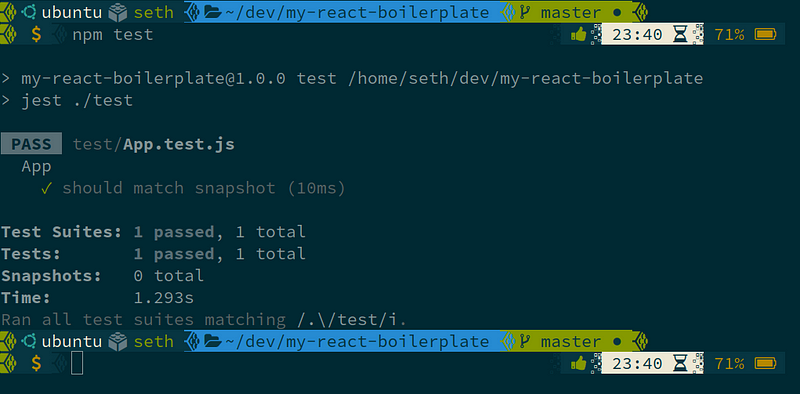
You might be wondering how to run this new test. To do so, we need to change the test script in the package.json to this:

You can now run the test from your terminal with npm test and should see something like this:
Break Time
If you’ve made it this far with your React boilerplate, CONGRATS! Mostly because you’ve realized that I’m using images for my code and you have to type it all out. That’s a pain in the butt, I know. Trust me though, you’re learning more than you know by being forced to type it all out, and the muscle memory is going to serve you well long after this tutorial.
Webpack
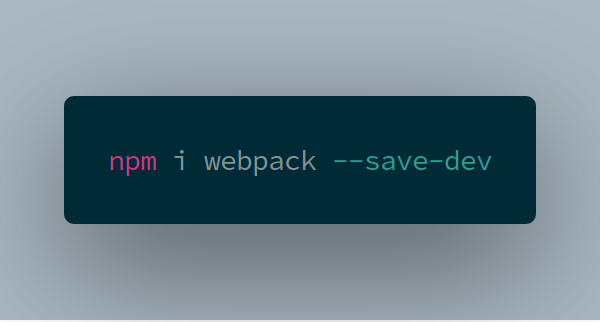
Webpack will allow us to modularize our code and easily bundle it into a single file for production. Something I think a lot of people really like about Webpack, though, is the development server. We’ll start by just installing Webpack with:
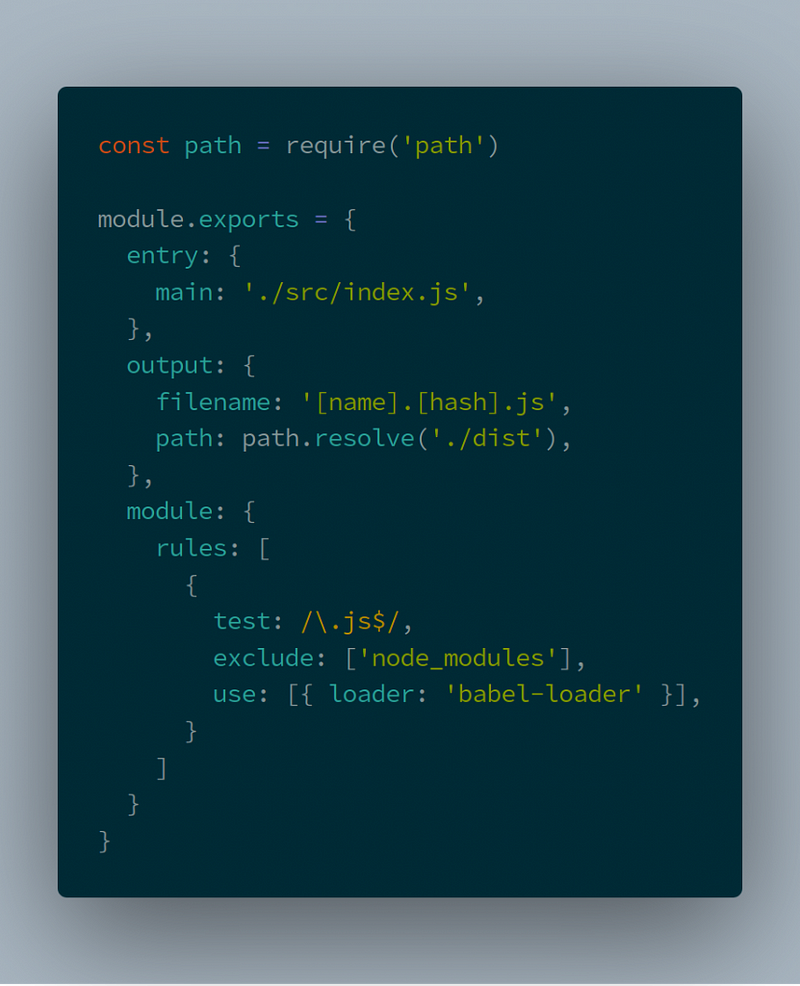
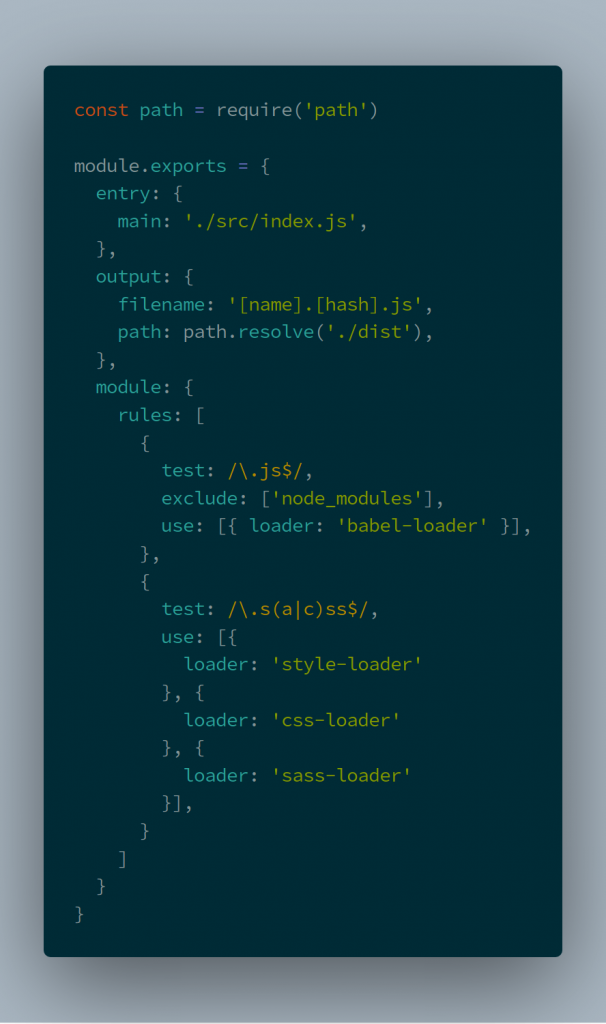
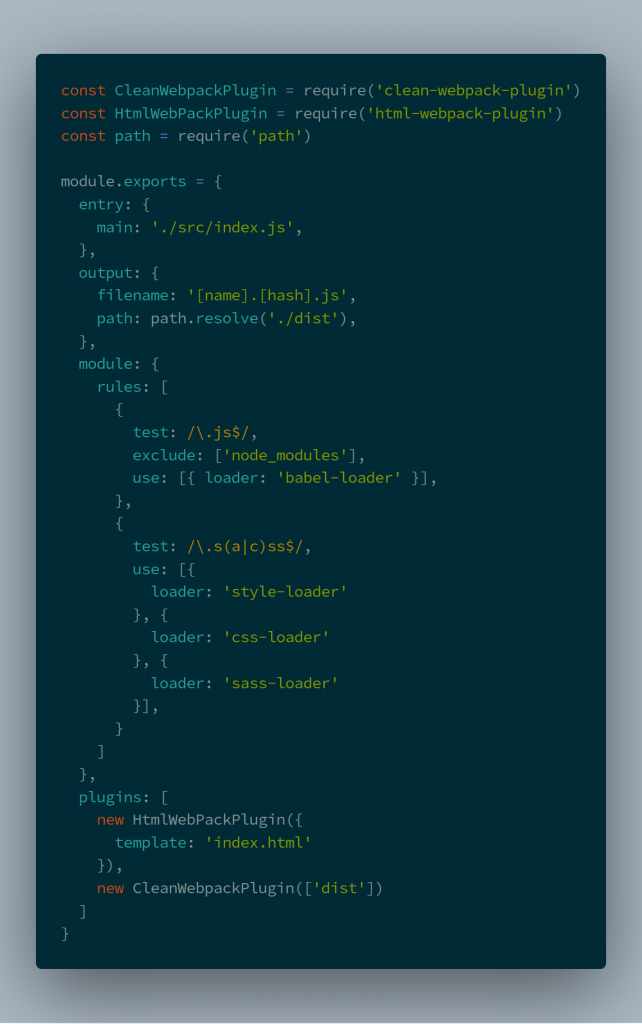
Webpack looks for a webpack.config.js file by default in the root of the project, so let’s create that and add to it a couple things:

The entry is telling Webpack where to find the base JavaScript file. In our application, that’s index.js. Then it tells it where to output the built file when it’s done with it.
Webpack loaders
Loaders are helpful pieces we can add to Webpack to make it more powerful and do things to other file types. Before Webpack will work properly, we need to set it up to work with ES6 and JSX. We’ll do this through the babel-loader. Add the babel-loader to your project with:

Then add the loader to your webpack.config.js like so:
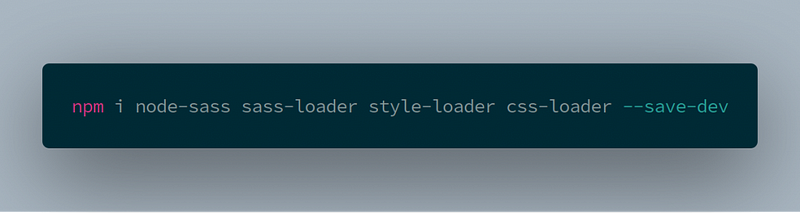
To utilize Sass and SCSS, we’ll need another loader. Now to get the best “bang for our buck” we’re going to chain three loaders together so our styles are applied immediately to the DOM. Let’s install the loaders:
And configure it like so in our webpack.config.js:
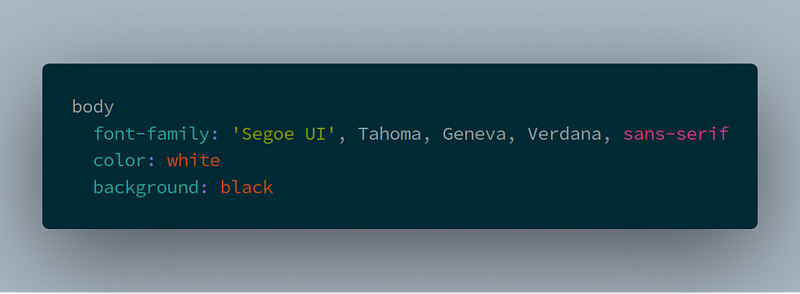
Since we just enabled some style support, let’s add some. Create /src/styles/style.sass and put in it:
Then add it to your index.js like so:
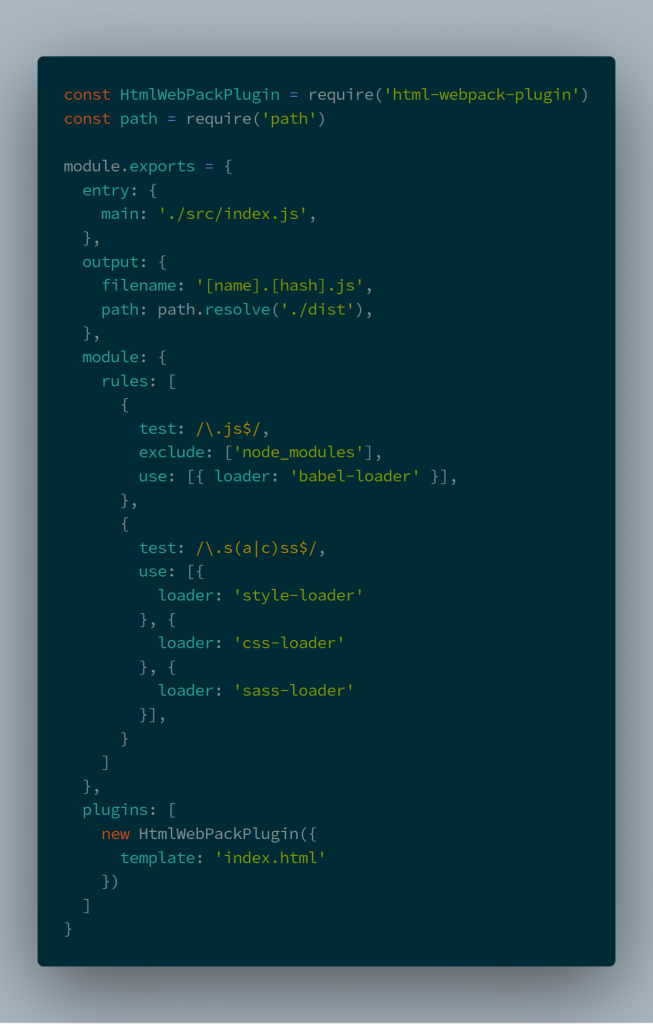
Up next are Webpack plugins. So, we need a way to include the built JavaScript in our index.html and of course, there’s a way to do this automatically. This is also going to take the index.html file and drop it into our build folder (more on the build later). Let’s add the HtmlWebPackPlugin and include it in our webpack.config.js like so:

Then:
Our next plugin is going to ensure that the directory we put our build in is cleaned out of any former files every time we run a build. We do that with these two steps:
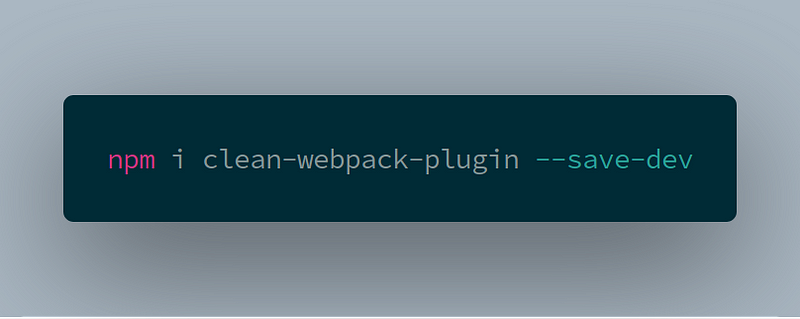
Then:

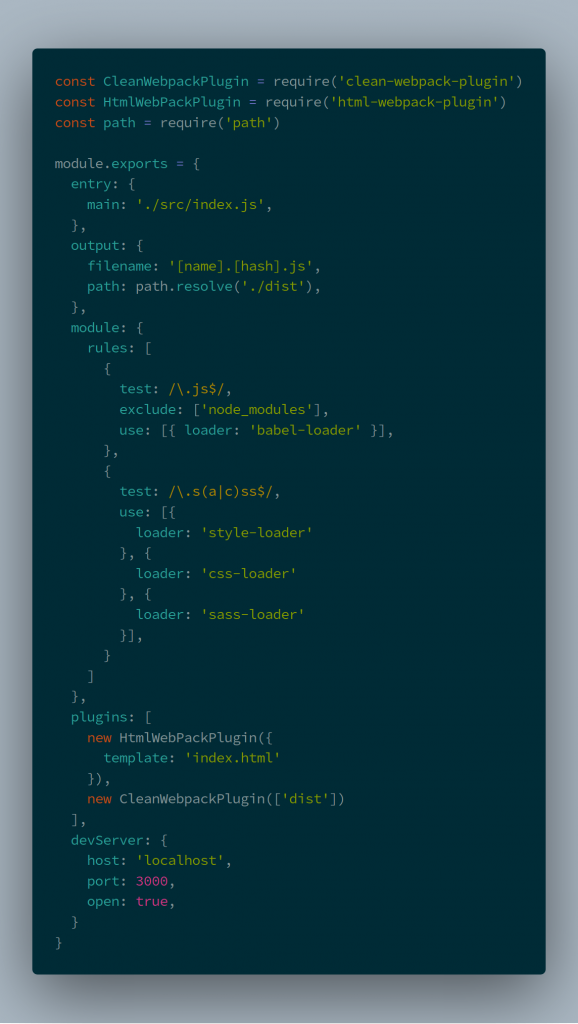
The moment we’ve all been waiting for! Let’s get the development server set up. So we’re going to add two packages in this step. webpack-cli is going to be used to run our commands from our package.json file. First:

Then update our webpack.config.js:
Finally add to the scripts section of the package.json:

Now fire up your development server and your default browser will open. It’ll take a second while Webpack does its thing, but you’ll soon see your React live in the browser.

So right now we could say success! However, our code isn’t optimized for production use. But we don’t want to optimize our code while we’re in development either, because it takes a lot longer to build. So let’s create separate build files for our production and development environments and tell Webpack how to handle that. I promise we’re almost done. Really we are…
Up next is:
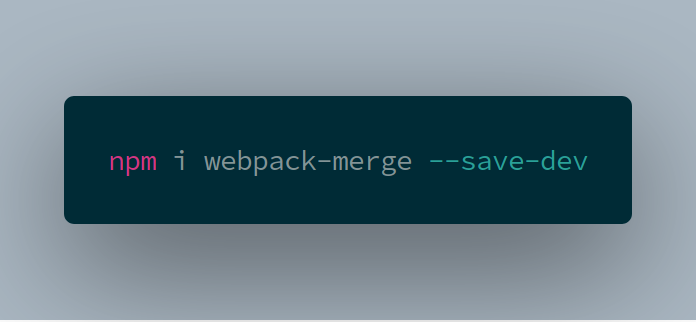
This is going to allow us to have three Webpack config files. So let’s get that setup. Rename your webpack.config.js to webpack.common.js. Then create webpack.dev.js and webpack.prod.js. The idea is one will have configuration used in both development and production, one will be development only, and one will be production only.
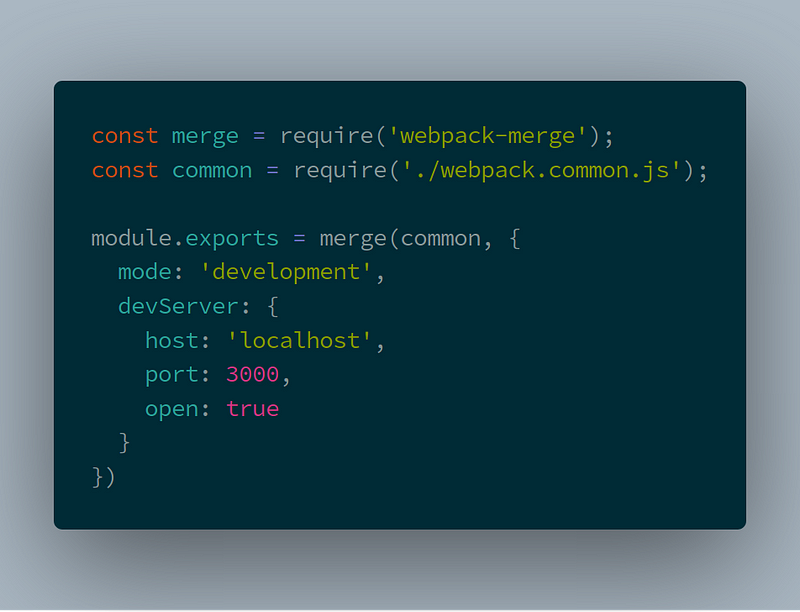
So first thing, let’s remove the development server code from common we just added in the last step and add it to webpack.dev.js. We’ll utilize webpack-merge to include everything from webpack.common.js and add on webpack.dev.js. So now your webpack.common.js looks like this:
Your webpack.dev.js should look like this:
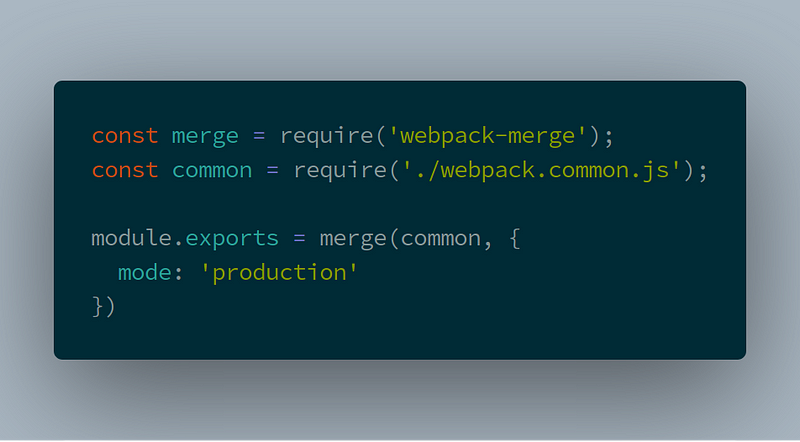
Your webpack.prod.js should look like this:
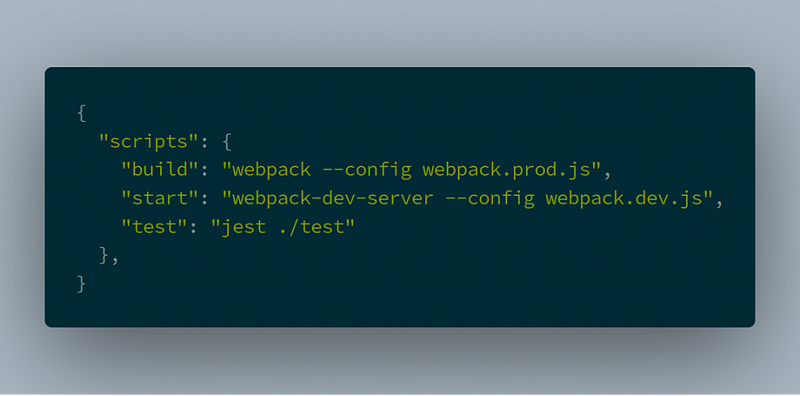
The last step here is to update the scripts in our package.json file to utilize these different files at different times. Your new scripts sections should look like:
What now?
Now you can go ahead and start your development server with:
You can build your application and have all the advantages of everything we’ve put together. When you’re ready to deploy your production application just run:

This will output an optimized version of your code into the /dist folder. Take those files and upload them to your favorite host and you’re good to go!
What’s Next With Your React Boilerplate?
Well, nothing from me! Ha, I think you’ve had enough by now. Hopefully, this empowers you to dive into creating your own boilerplate. You’ll start your personal projects steps ahead and really get an understanding of what each piece does.
I highly recommend the Webpack docs for further reading if you want to continue to add configuration to your Webpack setup. There is a lot more you can do with it.
Another thing you might want to do is set up something like ESLint in your project as well. You can also dive deep into Babel and all that it allows you to do.
Thanks for reading! I’d love to hear what you think about this setup. Anything you’d add, remove, or change, please leave in the comments below.
I ALMOST FORGOT! Actually I did, I’m adding this after I clicked “Publish”. If you want to find all this code, I have it in a repo here.